Getting Started
This article will guide you through the basic settings you need to set up to easily configure Invoice Manager and start using it.
After a succesfull installation of the Invoice Manager component, you can follow these steps:
Configuring Invoice Manager
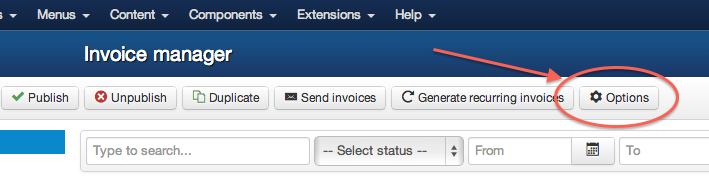
- Go to "Invoices" in the component manager (back-end) and click on the Options button to see the configuration options
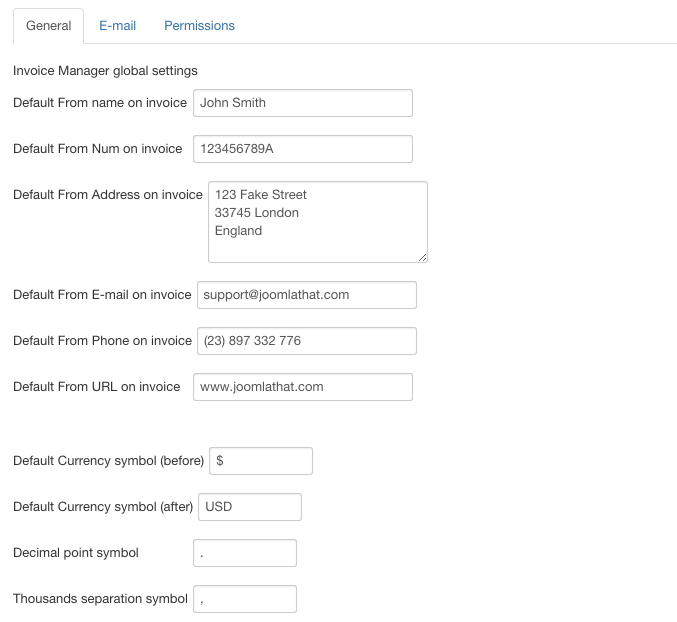
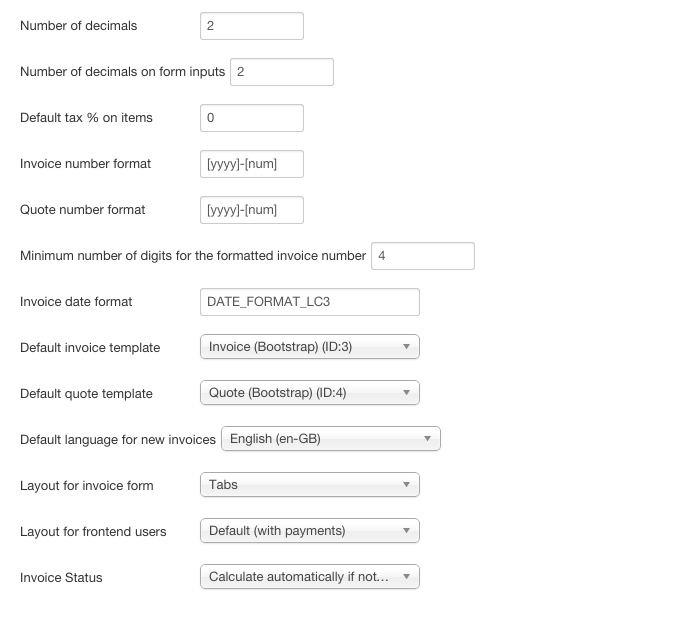
- You will see a few fields that you can fill out to configure Invoice Manager. We recommend to take a good look at them. Here you can define your default "Invoicer" information, the default currency symbols to be used or the Invoice number format:
General Configuration
-
Email configuration

-
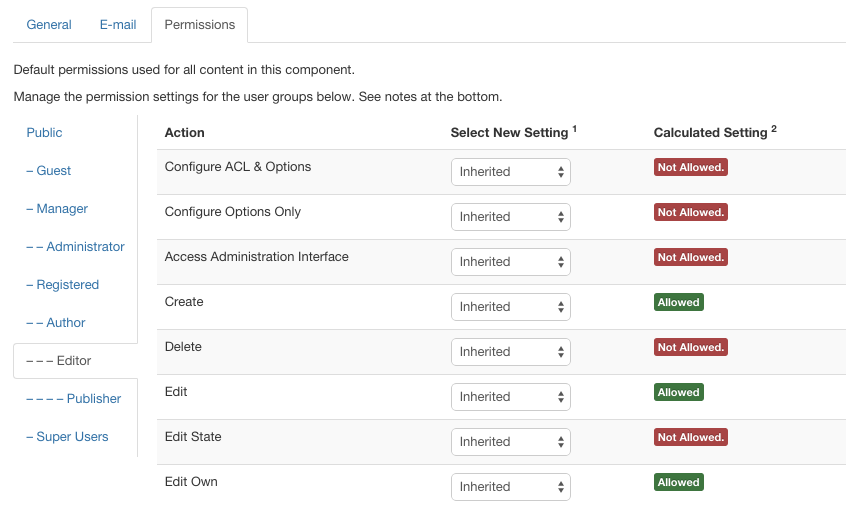
ACL Configuration
Learn more about configuration fields
Create menu item for your clients to see their invoices
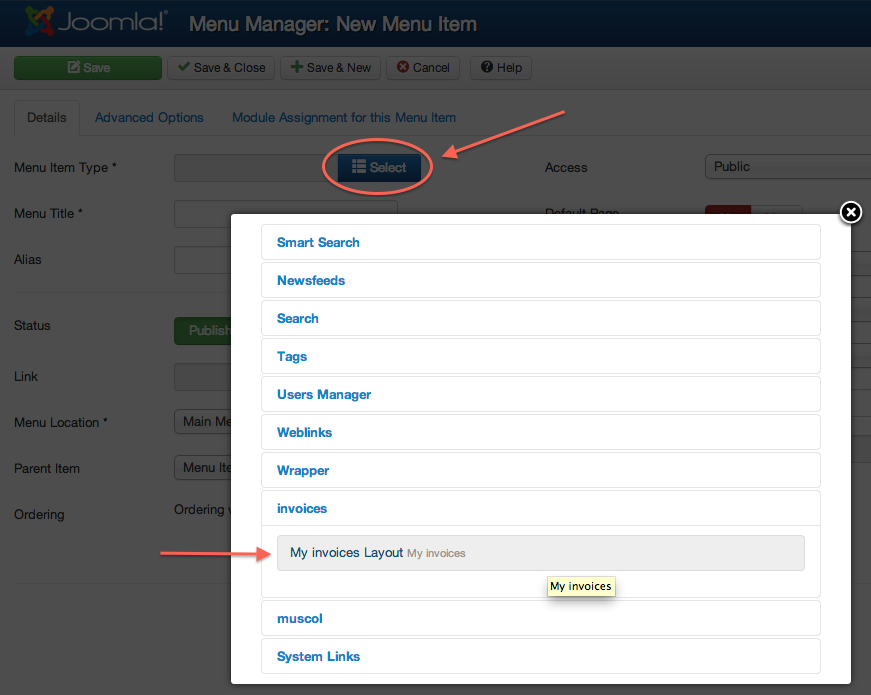
- Go to Joomla's Menu Manager and hit New. Then Select the Menu Item Type by pressing the button Select. Find the option "invoices". Select "My Invoices Layout", which is the main page for Invoice Manager in the frontend. Give the menu item a name and hit Save. The Invoices page is now created an accessible from the front-end of your website, for your clients to see.