Getting Started
This article will guide you through the basic settings you need to set up to easily configure Calendar Planner and start using it.
After a succesfull installation of the Calendar Planner component, you can follow these steps:
Configuring Calendar Planner
- Go to "Calendar Planner" in the component manager (back-end) and click on the Options button to see the configuration options
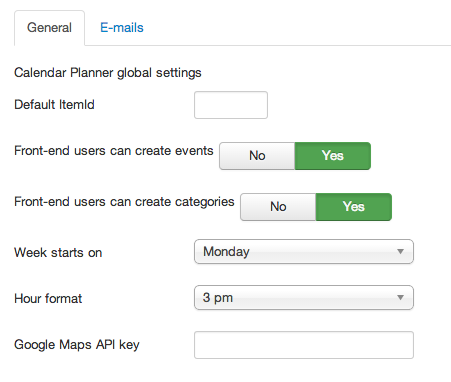
- You will see a few fields that you can fill out to configure Calendar Planner. The configuration is very simple, you just need to set up very basic details, like which day of the week you want the calendars to start with.
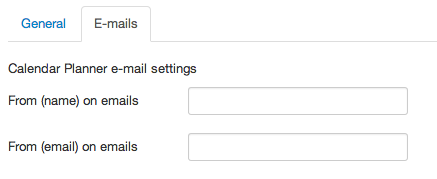
- The second tab are the e-mail related settings:
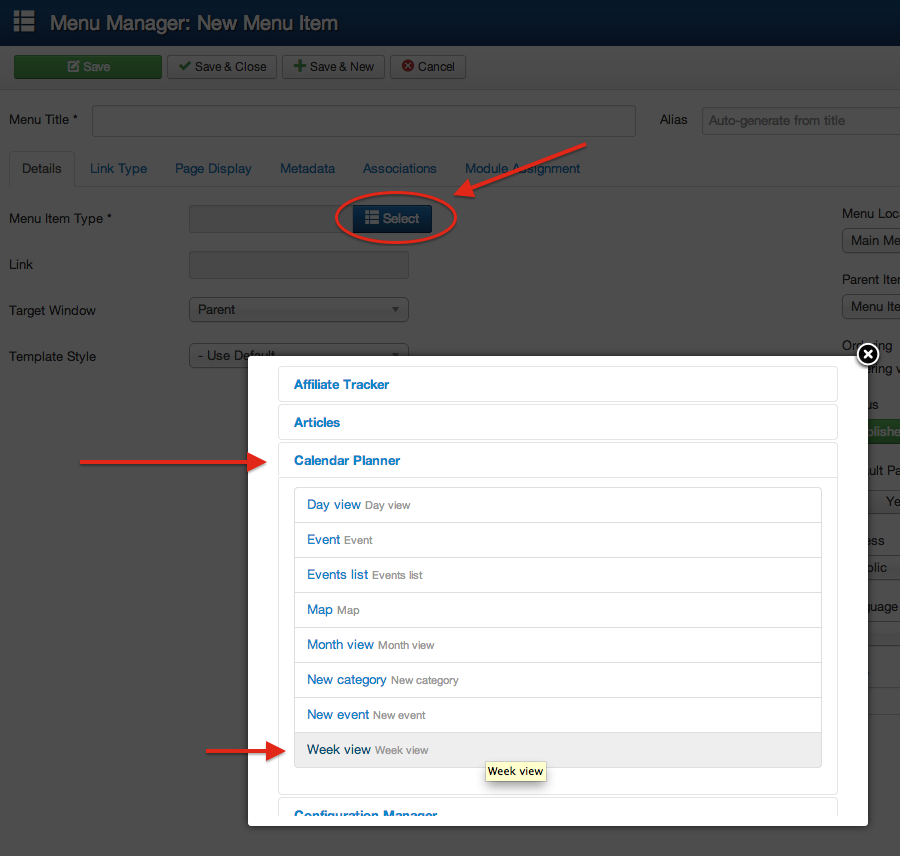
Create menu item for your users to see the calendar
- Go to Joomla's Menu Manager and hit New. Then Select the Menu Item Type by pressing the button Select. Find the option "Calendar Planner". Select "Week view", for example, which is the weekly view of the calendar. Give the menu item a name and hit Save. The Calendar page is now created an accessible from the front-end of your website, for your users to see.
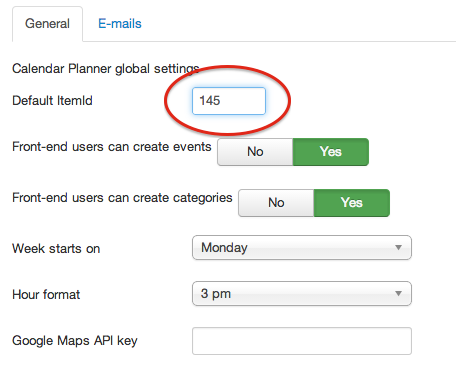
Setting up the Default Itemid parameter
There's an option on Calendar Planner parameters called "default Itemid". This field is used to assign the whole component to a specific menu item in Joomla, in a way that all the pages within Calendar Planner will mantain the modules and all the rest of the settings set for that menu item. Even if you're not too familiar with Joomla and you don't fully understand what this means, we suggest you that you configure it, as we explain here:
- Go to Joomla's Menu Manager and locate your main Calendar Planner entry menu (which we setted up previously). Take a look at this menu item ID and write it down.
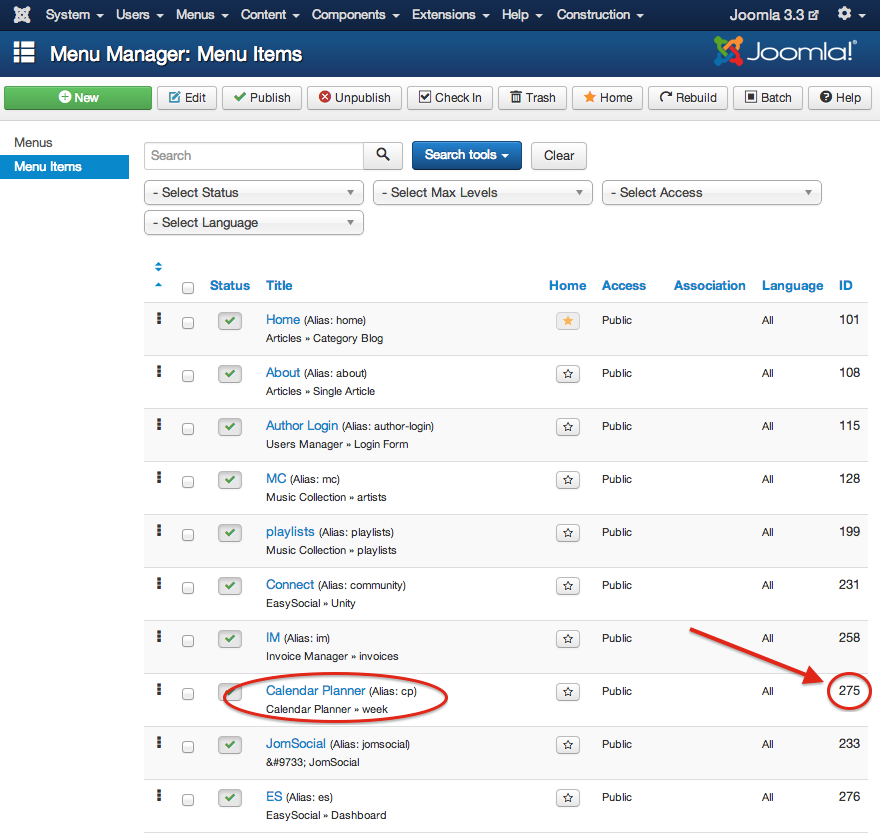
- Now go to Calendar Planner options, and on the General tab you will see a field called "Default Itemid", which you probably leaved blank before. Now, type the number obtained in the previous point here, and hit Save.