Creating your first invoice
This article will guide you the basic steps to create your first invoice with Invoice Manager after you have installed and configured it.
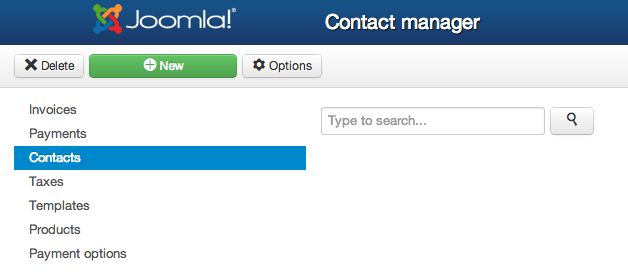
Create your first contact
- Go to Contacts and hit New to create your first contact.
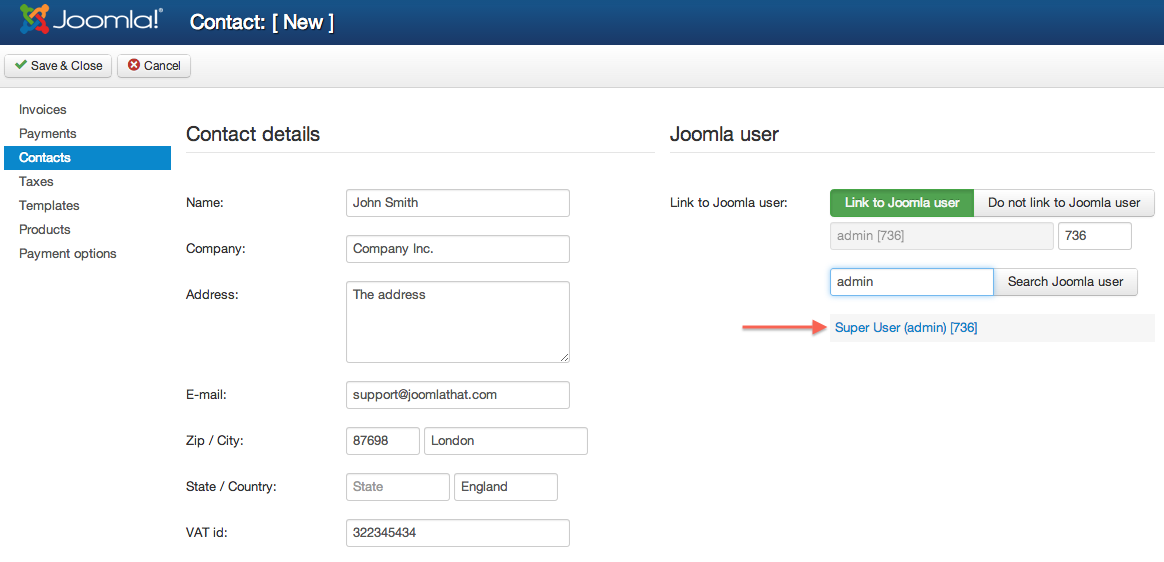
- Fill out the contact data you want (name, Company, email...) and assign the contact to a Joomla user, if you want to give him the ability to see their invoice online. To assign to a contact, just type something to search in the "Search Joomla User" field and hit "Search Joomla User". You will see a list of results below that search box. Click on the desired username and this user will be loaded into the Contact.
Create your taxes
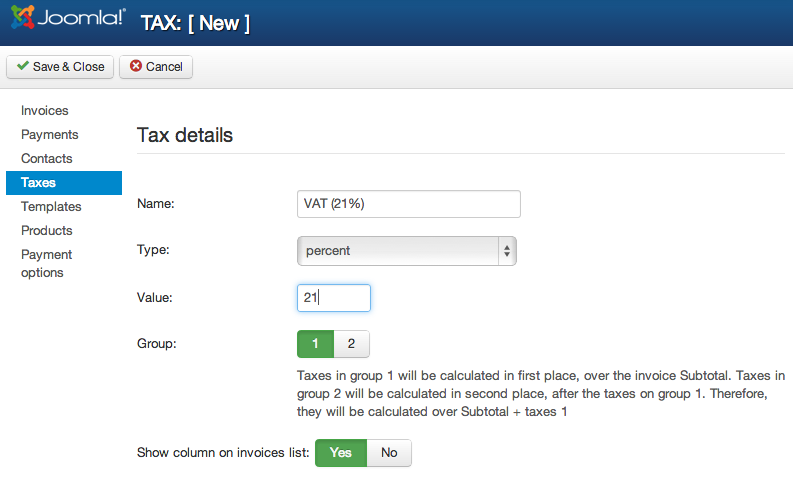
- Go to Taxes and hit New to create your first tax (in case you need any tax!)
- Fill out the tax details, like the value of the tax or the type, and hit save. This tax will be available when you create new invoices.
Create the first invoice
- Go to Invoices page and hit New to create your first invoice.
- Start typing the contact name you want to assign the invoice to. The system will present to you a list of results matching your query.
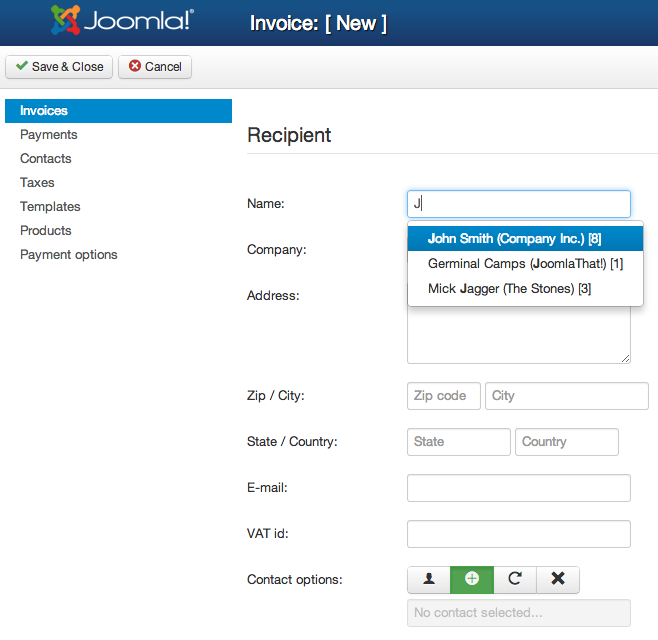
- Just select the one you're interested in, and the contact data will be loaded into the Recipient tab of the invoice.
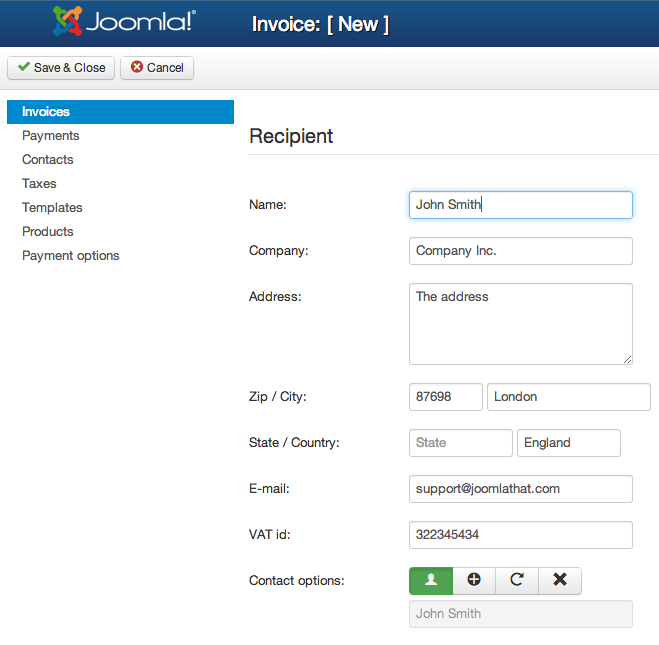
- You can change any information you need, if you want, just for that particular invoice
- You can either select to assign the invoice to the selected contact, you can choose to update the contact data (the information on the Recipient will be updated into the main Contact entry), create a new contact or just to not link the invoice to any contact.
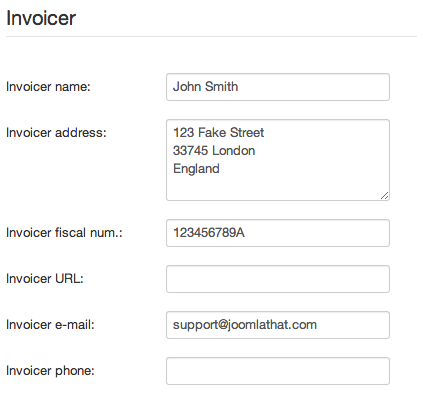
- Fill out the invoicer (you) data. This information will be pre-filled with the default options you've setted in Invoice Manager Global configuration area.
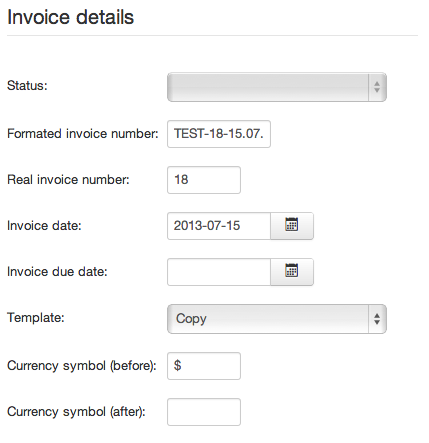
- Fill out your Invoice Details. Some information will be pre-filled for you, like the invoice date, formated invoice number, invoice Currency symbols or template.
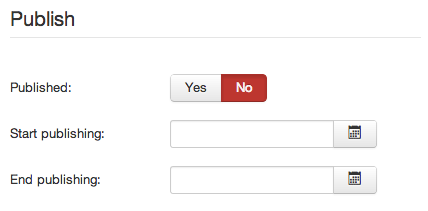
- Set the invoice publishing options (Yes/No, and maybe start/end publishing dates)
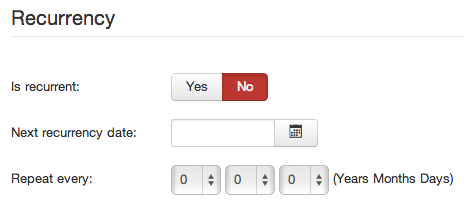
- Set up some Recurring invoice details if necessary.
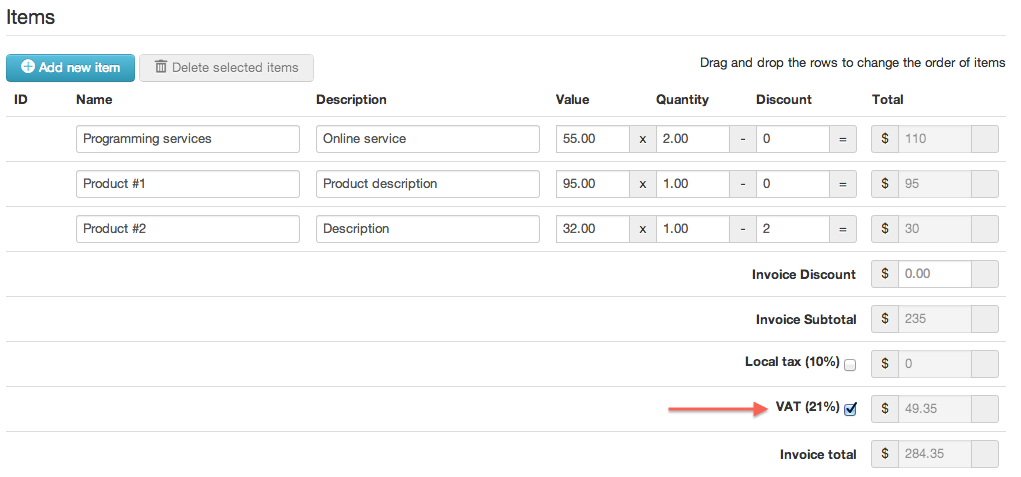
- Start adding items into the invoice by clicking on the "Add new item" in the Items area.
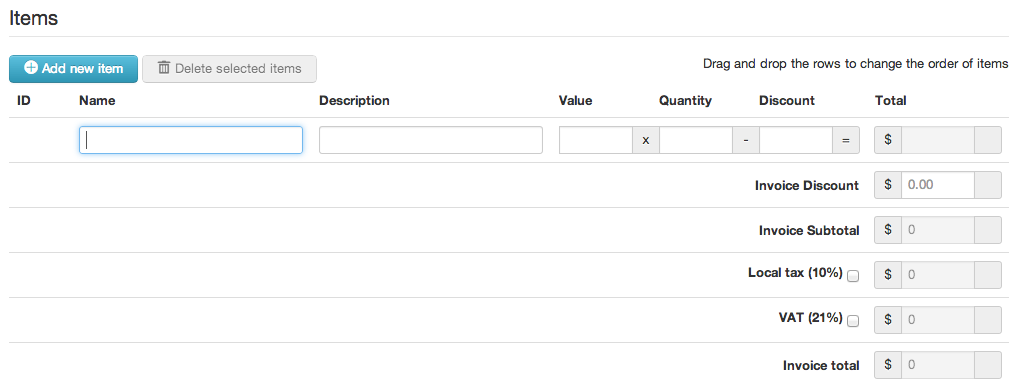
- Hit that button as many times as necessary and add all the items you need in the invoice. Set their name, description, price, amount and maybe discount. Also, select any taxes that you want to apply to this particular invoice by clicking on the checkbox for it.
- If you need payments for that invoice, you can also add them here. Hit the "Add new payment for this invoice" button to enter a new payment. Fill out the description, due date (if necessary) and amount. If you just need one payment for that invoice, for the total amount of the invoice, you can just select the "Mark this checkbox to automatically create 1 payment for the total amount of the invoice" and the payment will be created for you.

- Hit Save and you're done! your first invoice is created!